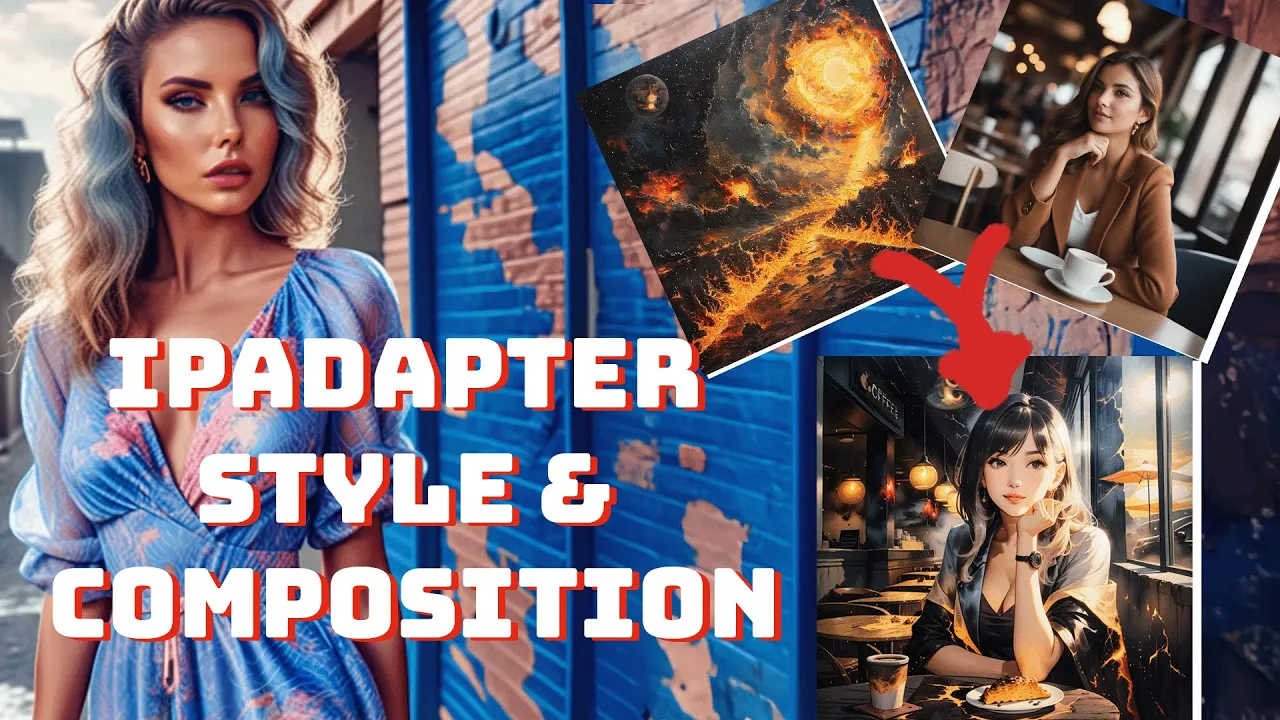
In our previous tutorial, we explored style transfer using IPadapter in ComfyUI, including some tricks to blend two styles into one image. Since then, Mato has released an update allowing us to combine styles with compositions, greatly enhancing our creative possibilities. Let’s explore these exciting new features.
Style Transfer Updates
We used an image as a style reference with the “style transfer SDXL” weight_type. Now, IPadapter offers “style transfer” and “strong style transfer” options:
a.) Style Transfer: Functions the same as before.
b.) Strong Style Transfer: Applies the style more aggressively.
Composition Reference
In addition to style transfer, you can now use an image to reference composition. This provides a flexible approach to defining composition elements, unlike the stricter ControlNet.
Simple Workflow for Composition
1. Reference Image: Choose an image to define the composition.
2. Set Weight_Type&Embeds_Scaling: Use “composition” in the IPadapter node and set embeds_scaling to K+V.
3. Model: For example, GhostXL.
4. Prompt: Describe the scene, such as “woman walking at the beach.”
Note: That there is a minor noise. Referenced in the previous video, it serves as a negative input to enhance image sharpness and prevent overexposure. Mato has included an IPAdapter Noise node for simplicity.
Looking at the composition, the IPAdapter is different from ControlNet. It takes important parts from the reference image but doesn’t follow them too strictly. This gives the model some room to be creative with the concepts it gets from the image.
Despite the sunny beach scene, you’ll spot similarities between our image and the reference. There’s a building or pier on the right, reflecting the one in the reference. A light pole on the left corresponds to a stick and other elements. The only difference is the absence of a tall tower. Otherwise, the composition closely resembles our reference.
Example #1
This woman singing into the microphone, with the prompt changed to ‘woman singing at the beach,’ showcases an interesting aspect of composition. While not an exact replica, key elements are preserved: the microphone, the woman’s posture, and her interaction with the microphone. This demonstrates the power of composition weighting with IP Adapter. It guides the model while allowing flexibility for interpretation, particularly useful when ControlNet struggles to produce high-quality images.
Combining Style and Composition
Now that we’ve discussed both style and composition, let’s introduce a new addition to the IP Adapter node collection: the ‘IPAdapter Style & Composition SDXL.’ This node lets us merge two images—one for style and the other for composition reference. This feature is highly beneficial as it enables us to experiment with different compositions while preserving the same style across various images.
Workflow Setup
1. Begin with the already set up IP Adapter containing style and composition settings.
2. Add the new “IPAdapter Style & Composition SDXL” node to your workflow.
3. Attach a unified loader to the node.
4. Choose a preset indicating the desired strength level; for instance, select “PLUS” (high strength.)
5. Load your model into the workflow. For this example, GhostXL is used.
6. Load your reference images.
7. Ensure your workflow aligns with the inputs on the style and composition nodes.
8. Connect the style input first, followed by the composition input at the bottom.
Example #2
1. Select the image representing the fire of thousand suns for the style.
2. Choose the image of a woman at a coffee shop, previously created on ComfyUI, for the composition.
3. Recognize the power of this combination, as styles can be applied to even simple concepts.
4. Use the prompt “a woman sitting in a coffee shop,” aligning it with our composition.
5. Proceed to queue up the process.
Result:
Here, witness how the subtle application of style enhances the image, with vibrant orange and black magma hues infused throughout. The resulting composition is both practical and captivating, transforming the coffee shop into a fantasy-like setting. By combining these elements, we unleash a wealth of creative potential.
Example #3
Adding the grungy image featured in the previous video, we witness the striking application of gray muted tones across the photo. Despite this, the original perspective and composition from the reference image remain unchanged.
Example #4
In this image, we explore another experiment. A necromancy-themed picture has been prepared to observe its application. Once again, we observe a strong reliance on the chosen style while preserving the same composition.
Conclusion
Combining styles with compositions using IPAdapter in ComfyUI offers immense creative freedom. Experiment with different combinations to see how they influence your images. Stay tuned for more tutorials, and don’t forget to like and subscribe for updates!
By following these steps, you can master the new features of IPAdapter in ComfyUI and enhance your creative projects.
Thank you for your support, and see you in the next tutorial!
Join the Community:
- Discord: Join our Discord community:https://discord.gg/TZCVqAqp
- Patreon: Access exclusive content and early access: https://www.patreon.com/EndangeredAI
- Website: Visit https://endangeredai.com for more resources.
- Youtube: https://www.youtube.com/@EndangeredAI

