Introduction
In today’s digital world, quick and efficient image editing techniques are crucial. This in this two-minute guide will walk you through the process of face replacement using the IP Adapter, making it easy to achieve professional results in no time.
Workflow Overview
Main Components
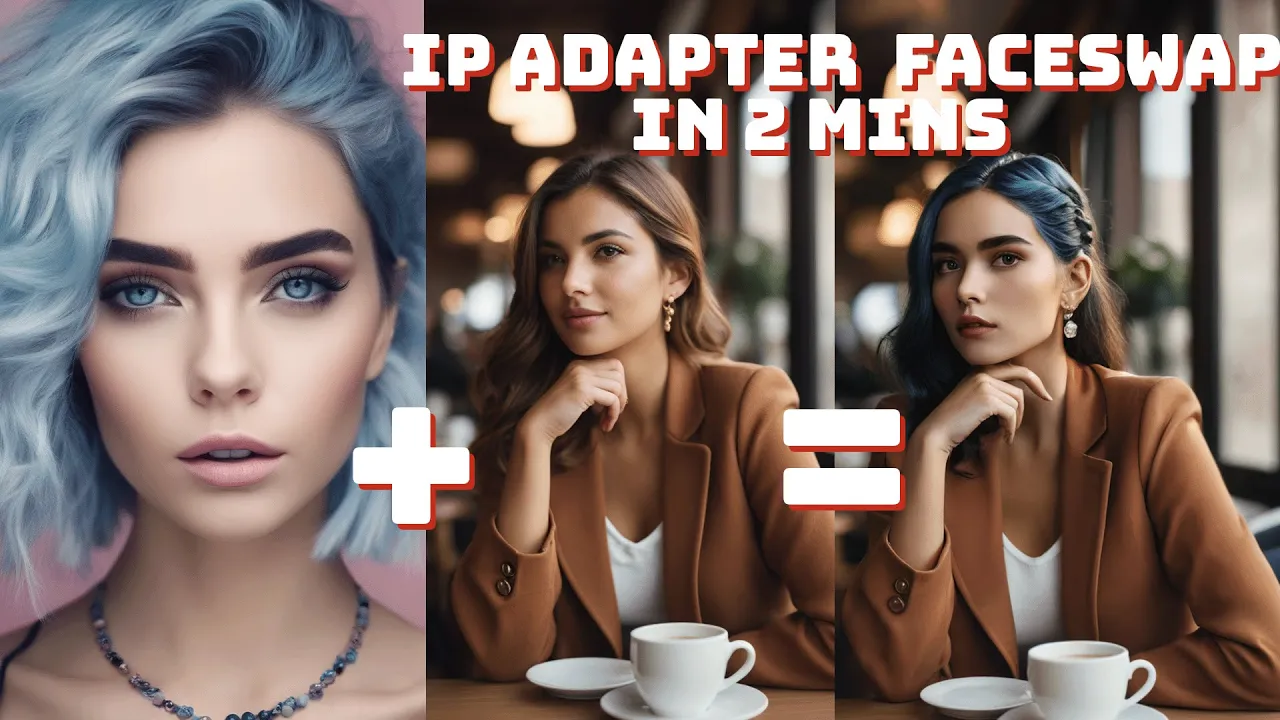
- IP Adapter for FaceID: The IP Adapter is a powerful tool for FaceID, enabling precise face replacement. Its advanced features ensure accurate and realistic results.

2. Source Image: Selecting and preparing a high-quality source image is vital. This image is fed into ClipVision for optimal processing.

3. IP Adapter Model
The IP Adapter Model, integrated with the Face Detailer, simplifies the face replacement process without the need for KSampler.
4. Image Replacement
Use the image you want to replace the face with and feed it into the Face Detailer image.

5. SAMLoader and SEGM_Detector
These tools are essential for achieving better face edges.

Face Replacement Step-by-Step Process
- Initiating the Process Start by clicking the queue prompt to begin the face replacement process. Ensure your initial setup is correct and ready.
- Review and Adjustments Once the image is generated, review it for any issues. Adjust the prompt and weight as needed to improve the image quality.

3. Adjust Prompt and Weight: Modify the prompt and weight as needed based on the image.

4. Queue Prompt Again: Re-queue the prompt.
5. Rinse and Repeat: Continue adjusting the prompt and weight, and re-queue until you achieve the desired results.

6. Save the Results: Once satisfied with the results, save the final image.
PRO TIPS & ADVANCED TECHNIQUES:
- Removing SAMLoader and SEGM_Detector: For more of the face reference and additional hair details, consider removing these components.
- Adjusting Prompts: Experiment with different prompts to capture detailed elements. Adjust the weights to balance the desired outcomes.
CONCLUSION:
This quick guide provides a straightforward approach to face replacement using the IP Adapter. For more advanced techniques and workflows, consider exploring additional resources and joining the community.
Additional Resources:
- The Workflow: https://endangeredai.com/face-replace…
- Patreon Workflow: https://www.patreon.com/posts/1020284…
Don’t miss out on our exclusive guide on Ultimate Guide to IPAdapter on comfyUI. Click here to read it now and enhance your understanding!
JOIN OUR COMMUNITY:
Like and Subscribe our Youtube Channel: https://www.youtube.com/@EndangeredAI
Support our channel: https://www.buymeacoffee.com/endangered
Sign up for our Newsletter: https://endangeredai.com/sign-up/
Discord: / discord
Patreon: / endangeredai