Introduction
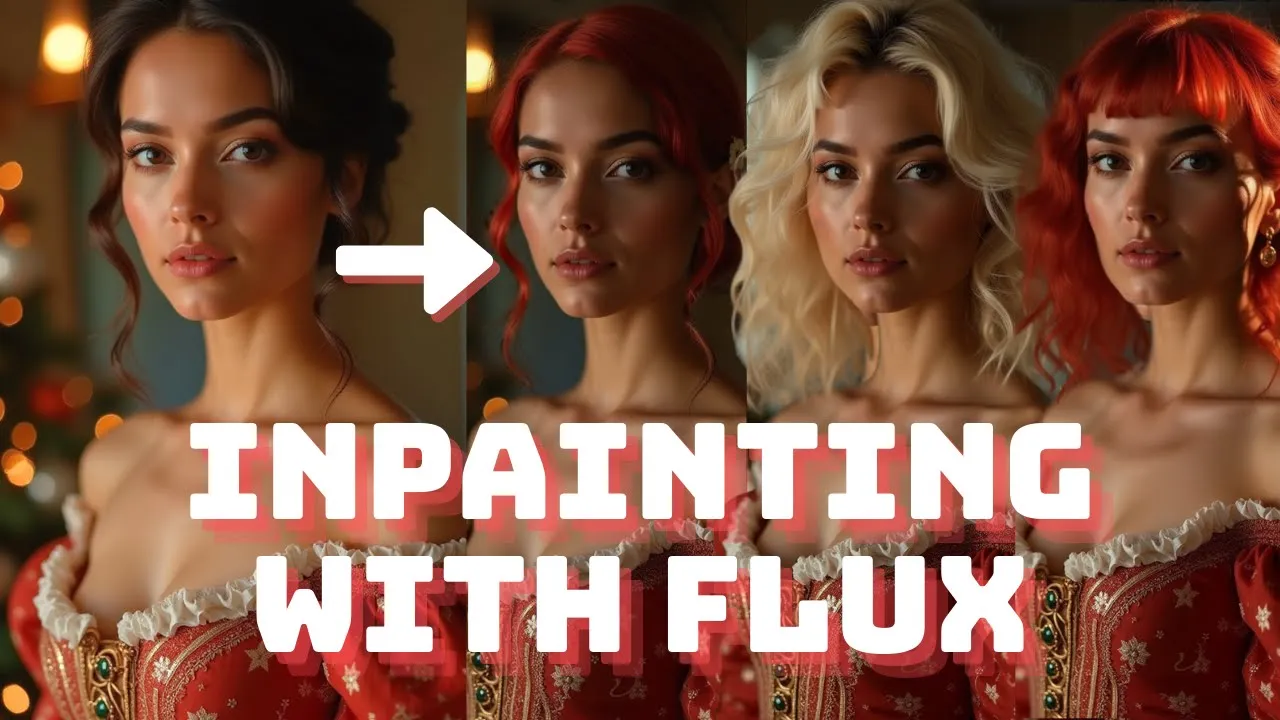
In the rapidly evolving world of AI-powered image editing, staying ahead means mastering the tools that give you the most precision and control. Today, we’re diving deep into one such powerful technique: inpainting using the Flux model on ComfyUI. But we’re not stopping there. We will also walk through Facebook’s SegmentAnything2 tool, which takes inpainting to another level by allowing you to select and modify specific items in your image effortlessly.
Step 1: Preparing Your Workflow
- Begin by setting up your workspace in ComfyUI.
- Ensure that you have the necessary nodes ready for inpainting. The key nodes you’ll be working with are:
- Load Image Node: This node will allow you to load the image that you want to inpaint.
- Inpaint Model Conditioning Node: Essential for the inpainting process.
- Tip: If you’ve previously created an image using Flux in a separate workflow, download it and upload it here for this new workflow.
Step 2: Connecting Nodes
- Start by connecting the Load Image Node to the Inpaint Model Conditioning Node.
- You’ll need to link several parameters:
- Positive and Negative Prompts: These define what the model should add or avoid in the inpainting process.
- VAE (Variational Autoencoder): Responsible for the overall image generation.
- Pixels (Image to be Inpainted): This is where your image will be processed.
- The Mask: Defines the specific area you want to alter in your image.
- Plug in your positive prompt, negative prompt, and VAE. For those unfamiliar with setting up Flux, I have a video linked here to help you get started.
Step 3: Creating and Applying the Mask
- Open your Mask Editor and select the area you want to inpaint.
- Adjust the thickness, opacity, and color of your mask.
- Important: The opacity setting controls how much of the background is visible through the mask:
- Lower opacity allows the model to understand what’s beneath the mask.
- Full opacity blocks out the background entirely, making the model unaware of what’s underneath.
- Recommended Setting: Start with 70-75% opacity for a balanced approach.
- Once satisfied, click Save to Node.
- Connect the Pixels and Mask from the Load Image Node to the Inpaint Model Conditioning Node.
Step 4: Configuring the Inpainting Process
- Feed the positive prompt to the BasicGuider. If using a more advanced guider like DualCFGuider or PerpNegativeGuider, connect the negative prompt as well. However, for basic inpainting, you may skip the negative prompt.
- Finally, link the latent variables to the SamplerCustomAdvanced node.
- Note: All these nodes are part of the standard Flux workflow, so ensure your ComfyUI is up to date if you can’t find them.
Step 5: Running the Inpainting Process
- In the Green Prompt Box, type what you want to replace in the masked area. For example, “wearing a gold and black dress.”
- Tip: The process might not always be perfect on the first try. Run two or three generations for better results.
- For Example: In this demonstration, Flux managed to inpaint a gold and black dress, although the black areas were more shadowy frills than solid black. However, with other prompts, like a gold and red dress, the results were more accurate.
Step 6: Inpainting Process with Facebook’s SegmentAnything2 Tool
- If you want to avoid manually coloring in mask areas, especially for specific items like clothing or body features, you can use the SegmentAnything2 Tool by Facebook.
Setting Up the Workflow:
- Load the source image and segment it using the Florence2Run node.
- Note: Facebook’s SegmentAnything2 Tool uses Microsoft’s Florence2Run, and we’ll be doing the same.
- Connect the Florence2Run Model to the Load Image Node.
- Specify the area or component you want to segment (e.g., “hair”).
- Make sure to set the task to referring_expression_segmentation to avoid selecting unwanted areas.
- Preview the segmented area using the Preview Image Node to ensure accuracy.
Step 7: Refining the Mask for Better Inpainting Results
To achieve the best inpainting results, refining the mask is often necessary.
- Enhancing the Mask:
- Pass the mask through a GrowMask node, increasing its size by 10 to 30 pixels.
- Apply a Gaussian Blur Mask to soften the edges, preventing any harsh lines or strange effects where the mask used to be.
- Previewing the Refined Mask:
- Convert the mask to an image for previewing, and then feed it into the Inpaint Model Conditioning Node, just as you did earlier in the process.
Step 8: Running the Final Inpainting Process
With the segmented and refined mask in place, you’re ready for the final inpainting process.
- Final Prompt Entry:
- Enter a detailed prompt, such as “woman with a steampunk dress,” and run the inpainting process once more.
- For Example: The model successfully inpainted a steampunk dress, even though the initial segmentation left out parts of the ruffles. By expanding and blurring the mask, the model was able to intelligently work around these issues, producing a cohesive and visually appealing result.
Conclusion:
Inpainting with the Flux model and enhancing your workflow with Facebook’s Segment Anything tool offers a powerful combination for AI-driven image editing. The Flux model’s ability to understand and adapt to your input allows for precise and creative inpainting, while the Segment Anything tool streamlines the process, particularly when dealing with specific image components. I hope this guide has provided you with the knowledge and confidence to start inpainting with these tools.
Important Links and Resources
Workflows: / endangeredai
Learn to use Flux on ComfyUI: This new Open Source Model is better …
Must Read: Flux 1.0: Complete Guide to the New Model! It Looks Like a Better Model Than Midjourney and SD3!

