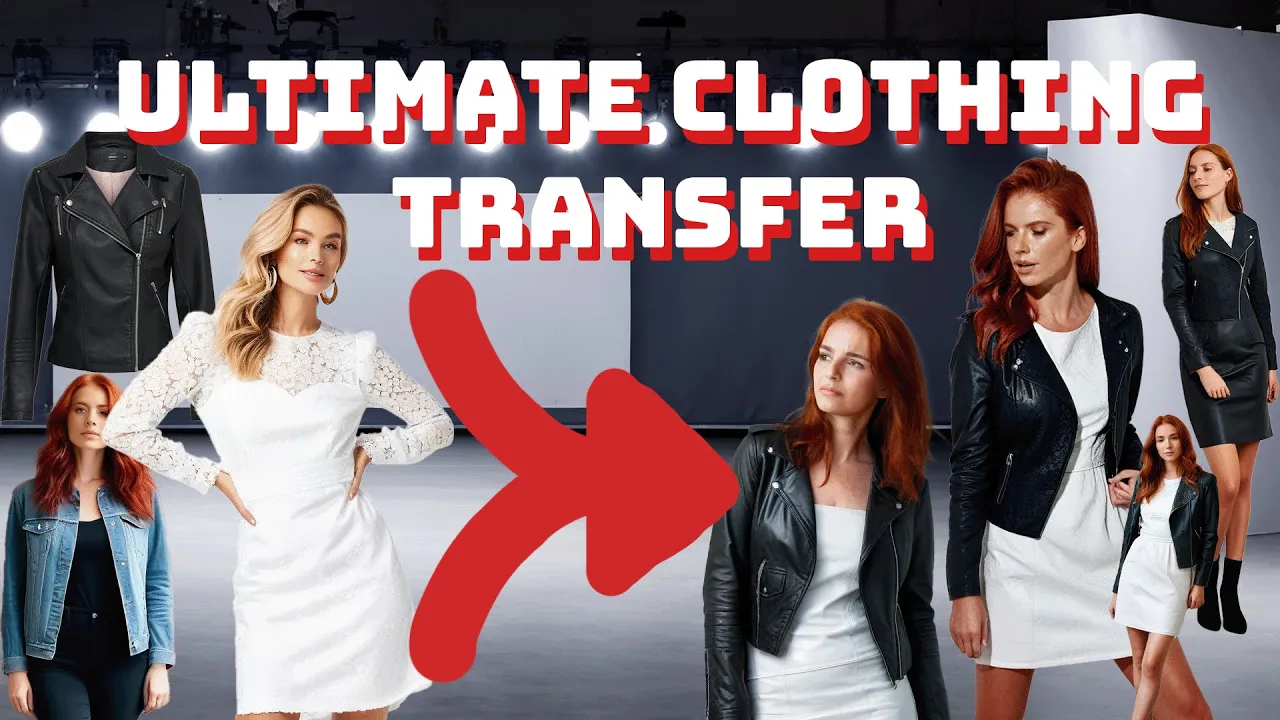
In this guide, we will explore how to apply articles of clothing to AI-generated characters using the IP Adapter method in ComfyUI. This technique is particularly useful for e-commerce applications and character design.
Step 1: Prepare Your Workflow
Start by setting up a workflow that includes:
- An article of clothing with a white background.
- A reference character on a plain background.
- Using the IP Adapter to combine them.

Step 2: Load Reference Images
Load the two images into your workflow. Ensure they are properly set as references for the IP Adapter.

Step 3: Create Embeddings
Convert the images into embeddings using the IP Adapter encoder. This process analyzes the images and prepares them for the model.

Step 4: Adjust Weights
Each embed has a weight. Adjust these weights to balance the influence of each reference image in the final output.

Step 5: Test Different Inputs
To see how different reference images affect the output, experiment with various combinations of clothing and characters.

Step 6: Fine-Tune the Output
Make adjustments based on the initial results. This may include changing weights or modifying the references to improve the output quality.

Step 7: Adding Multiple Articles of Clothing
If you want to apply more than one article of clothing, duplicate the IP Adapter encoder and load additional images. Adjust the weights accordingly to achieve the desired look.
Step 8: Finalize and Export
After tweaking and achieving satisfactory results, finalize your image and export it. Remember to check for any inconsistencies that need to be addressed.

Conclusion
Using the IP Adapter method in ComfyUI allows for great flexibility and creativity when applying clothing to AI-generated characters. With practice, you will be able to create impressive results tailored to your needs.
For more detailed workflows and exclusive content, consider supporting us on Patreon or check out our Standard Workflow Guide.

