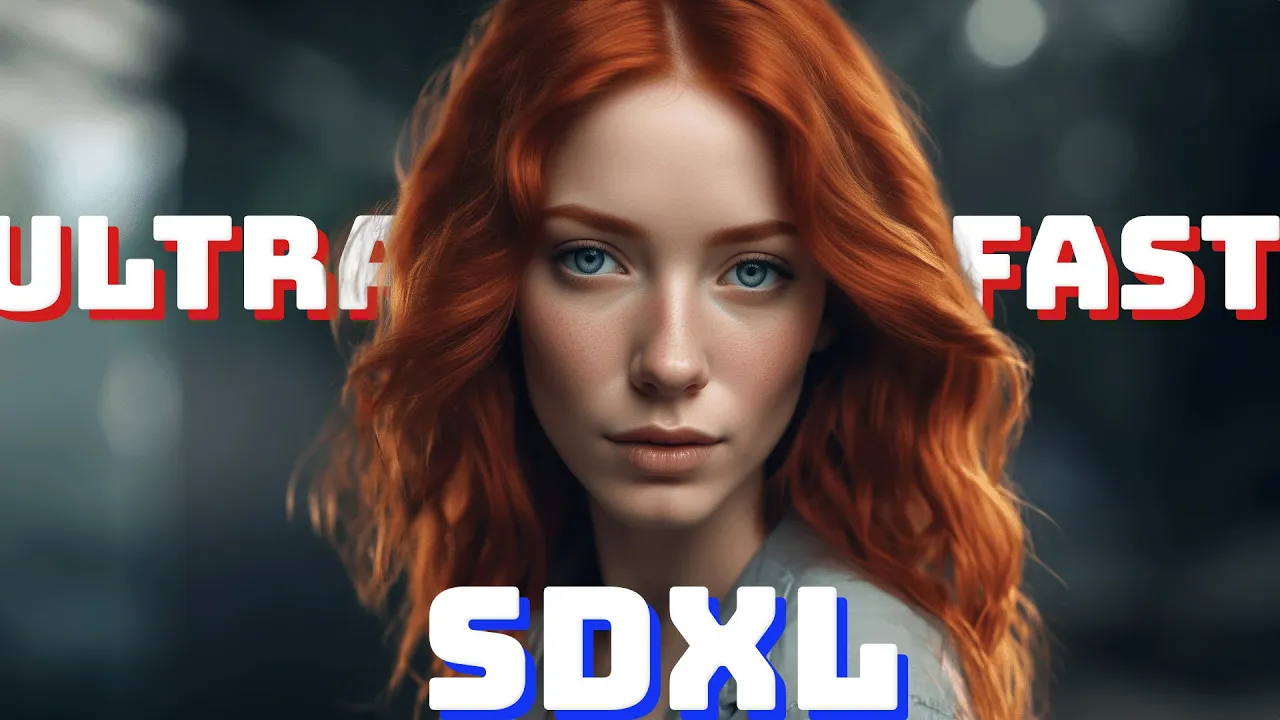
Introduction to the New Bytedance Models
Bytedance has recently released a groundbreaking set of models designed to enhance the efficiency of image generation in Stable Diffusion XL. These innovative models allow you to produce images in half the time or even less, depending on the model you use. You have the flexibility to choose from models that require only two, four, or eight steps.
Benefits of Using Bytedance Models
Speed and Efficiency: One of the standout features of these models is their speed. By using these models, you can drastically reduce the time it takes to generate images. This efficiency is perfect for users who need quick results without compromising on quality.
Versatility: These models can be used independently or as LoRA (Low-Rank Adaptation) to accelerate any existing SDXL model. This versatility means you can integrate them into your current workflows seamlessly.
Using Bytedance Models in ComfyUI for Stable Diffusion XL: A Step-by-Step Guide
Setting Up the Workflow
The workflow is straightforward and user-friendly. We’re focusing on the checkpoint versions of these models. Here’s how you can set them up:
- Download Models: Head to Hugging Face to download the models (Hugging Face Link:https://huggingface.co/ByteDance/SDXL-Lightning/tree/main). Place these models into your model’s checkpoints folder. You’ll load them just like any regular checkpoint.
- Load the Models: For this tutorial, we’ll be using the 4-step model, but there’s also a 2-step and an 8-step model available.
Workflow Configuration
In ComfyUI, the nodes are organized for clarity:
Model Integration:
Model: Load the checkpoint model into the KSampler.
Clip Text Encoders: Connect the clip text encoders to the clip node.
VAE Decoder: Connect the VAE to the VAE decoder.
Prompts:
Positive and Negative Prompts: Separate these from the clip text encoder for better organization, as seen in previous videos.
KSampler Settings:
Empty Latent Image: Use a 1024×1024 empty latent image, feeding it into the KSampler latent_image.
Steps Configuration: Match the steps in the KSampler to your model (4 steps for the 4-step model, 2 for the 2-step model, etc.).
Scheduler: Set the scheduler to sgm_uniform to ensure compatibility. So far, only euler has been tested for this tutorial.
VAE Decoder: Feed the output from the KSampler into the VAE decoder to generate your image.
Image Quality: The initial image might not be 100% crisp. To enhance sharpness and detail, run the image through an upscaler like 4x-Ultrasharp.pth.
Note: The seed is fixed, enabling us to compare the qualitative output of each model.
Example Prompt
Here’s a sample prompt we’ll use to test the models:
Prompt: “red-haired woman, portrait, photography, ultra-realistic, 4K, UHD, portrait”
Negative Prompts: Ensure to include any elements you want to exclude from the image.
Here is a comparison of the same prompt with the same seed for the 2, 4, and 8-step versions.
Interestingly, the two and four-step versions are very similar to each other, with a similar pose and the character looking in the same direction. The eight-step model provides a more zoomed-in, cropped look. Notably, the four-step model has performed phenomenally well.
There’s a bit of artifacting around the eyes, but considering this is only four steps, the results are absolutely phenomenal.
The two-step versions are also not bad, reminiscent of the early versions of Stable Diffusion 1.5 with a painted look and imperfect eyes, including a “back teeth” appearance.
Each of these images took less than 15 seconds on the lowest tier of the RunPod hardware. Comparatively, the SDXL version took about 20 to 30 seconds per image. This means I’m generating these images at half the inference time of the default stable diffusion model. What’s even more remarkable is when we look at the upscaled versions, which resolve many issues seen in the two and four-step versions: the eyes, skin, and level of detail are excellent. Furthermore, the additional upscaling only added a few extra seconds to the entire process. Thus, we’ve halved the inference time while achieving as good, if not better, quality images throughout the entire process.
Exploring LoRA Models in ComfyUI: Enhancing Image Generation with Stable Diffusion XL
Introducing LoRA Models
Until now, we’ve focused on the checkpoint versions of the models. But what about LoRA (Low-Rank Adaptation) models? Let’s dive into how they can take your image generation to the next level.
Modified Workflow
We’ve slightly modified our workflow by introducing the LoRA node between the checkpoint and KSampler. Additionally, we’ve switched our base checkpoint from sxdl_lightning to sd_xl_base1.0safetensors, and we’re using the four-step LoRA model.
And now we’ve got the four-step LoRA here.
Despite these changes, our prompts, scheduler (sgm_uniform), sampler name (euler), and step configurations (2, 4, 8) remain consistent. Running the LoRA model through the workflow yields results comparable to the checkpoint models. This highlights the effectiveness of LoRA in maintaining image quality while speeding up the process. To showcase the versatility of LoRA models, we’ve tested an anime-specific SDXL model (AAMXL.safetensors). Even with this specialized model, the four-step LoRA delivers impressive results, enhanced further through upscaling.
Comparative Analysis
Here’s a side-by-side comparison with the base model, showcasing the similar quality and efficiency achieved with LoRA models.
With their flexibility and performance, integrating LoRA models into various workflows promises to streamline image generation times significantly. This flexibility is particularly promising for tasks like face replacement, where LoRA models excel, especially in close-up portrait scenarios.
Conclusion:
Exploring these capabilities further, I look forward to sharing advanced workflows and insights with my Patreon community. Stay tuned for updates and experimental workflows as we continue to push the boundaries of what these models can achieve.
Join the Community
Connect with us:

