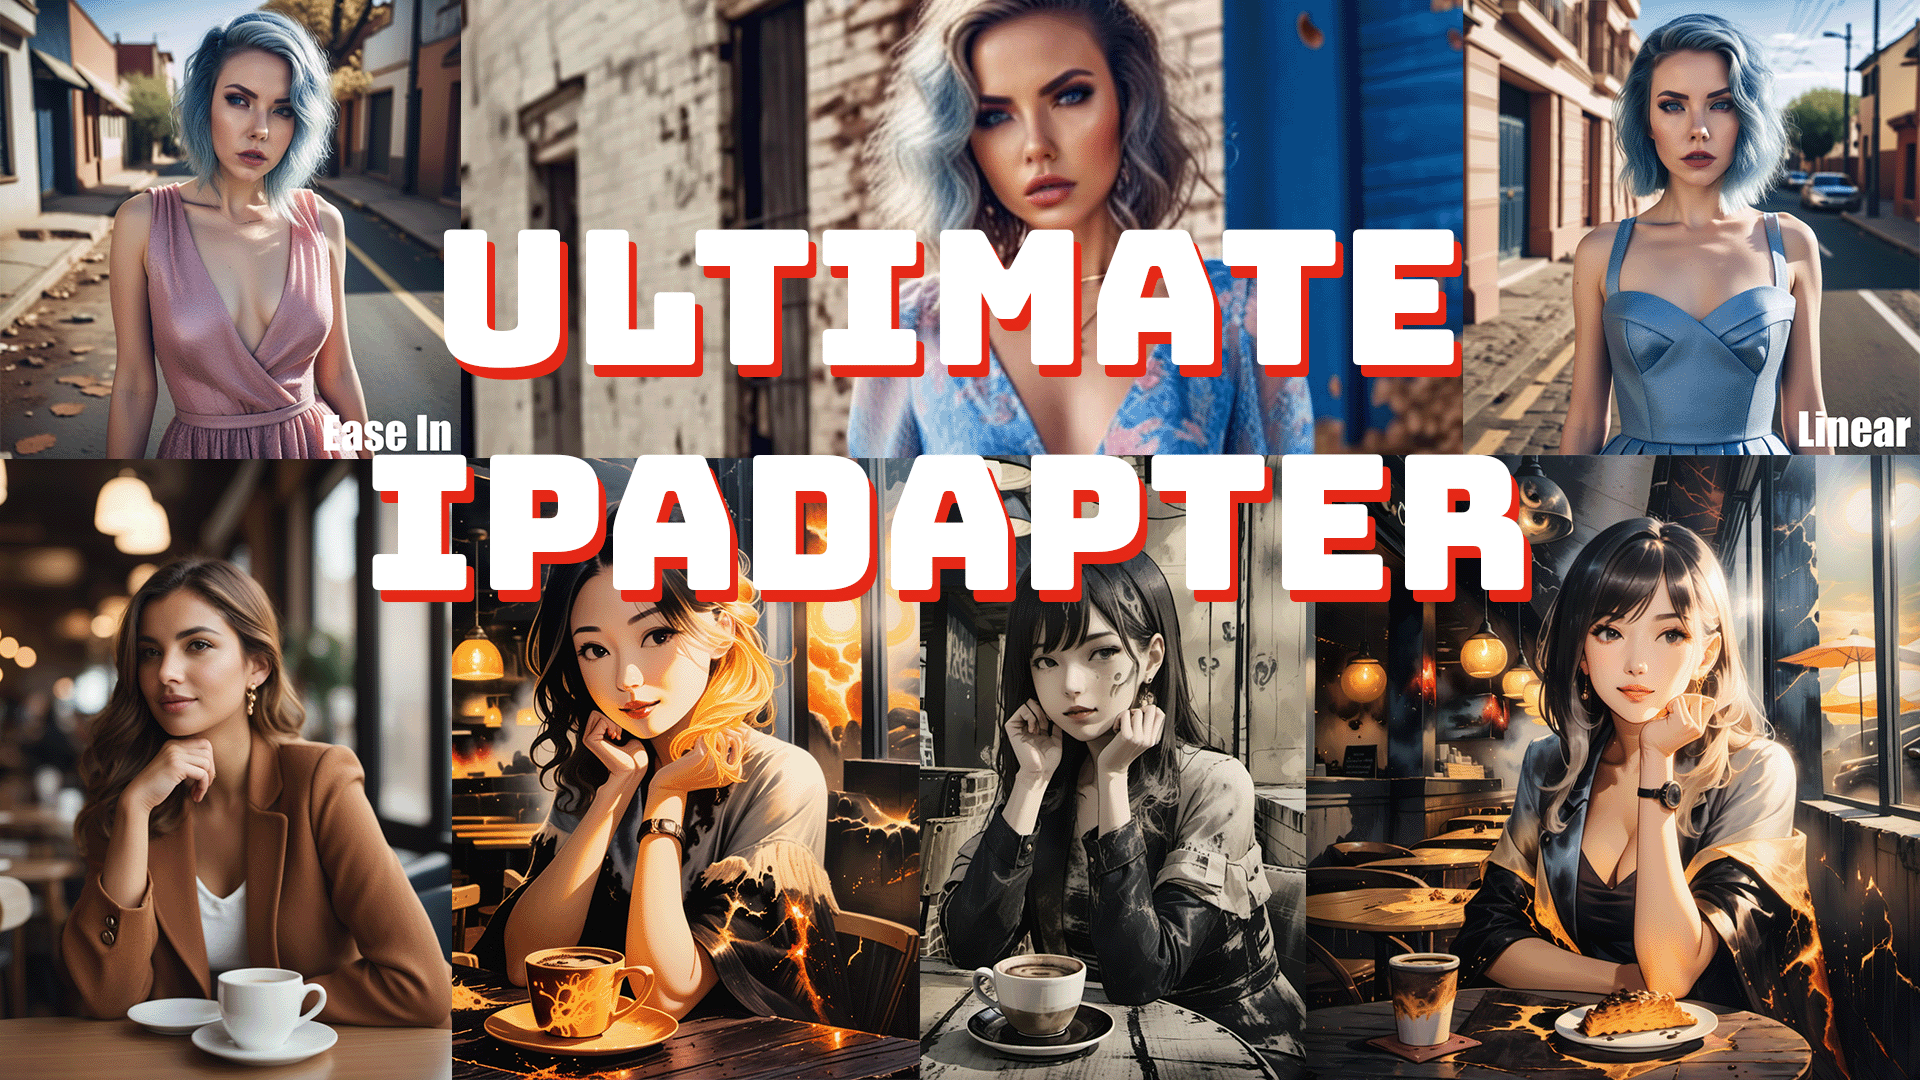
The IPAdapter in ComfyUI has undergone a significant update, making it easier and more efficient to use. In this guide, we will cover everything you need to know about installing and utilizing the new features of IPAdapter Version 2. This includes step-by-step instructions, workflow examples, and tips on maximizing the potential of your AI projects. Let’s dive in!
Introduction to the IPAdapter Update
Mateo, also known as Latent Vision, has released a major update to the Comfy UI IP adapter node collection. This update not only enhances the way IPAdapter operates but also simplifies the installation process significantly. Users can expect improved functionality and new features that allow for more creative workflows.
After experimenting with these new nodes and watching Mateo’s tutorial videos, I compiled this guide to share my findings and insights. Whether you are new to ComfyUI or looking to enhance your existing setup, this guide will provide valuable information.
System Requirements
Before diving into the installation process, ensure your system meets the following requirements:
- A computer running Windows, Linux, or macOS.
- An NVIDIA GPU with at least 8GB of VRAM is recommended for optimal performance.
- Python 3.8 or higher installed on your system.
Installing the IPAdapter
The installation process for the updated IPAdapter is straightforward. The easiest way to do this is through the Comfy UI manager.
- Open Comfy UI Manager: Launch the application and navigate to the ‘Custom Nodes’ section.
- Uninstall Previous Versions: If you have an older version of IPAdapter installed, uninstall it and restart the manager.
- Download Models: Visit the GitHub repository to download the necessary models into the correct folders.
Make sure to create the required folders if they do not already exist. For example, you need to create a folder named ‘IP adapter’ in your Comfy UI models directory.
Downloading Models
Here’s how to ensure you have all necessary models properly installed:
- Copy the model name from the repository.
- Right-click and select ‘Save link as’ to download the model directly into the appropriate folder.
- Ensure all files are named correctly by removing any extra spaces or commas.
After downloading, verify that you have the following folders set up:
- Comfy UI/models/Clipvision
- Comfy UI/models/IP adapter
- Comfy UI/models/LoRa’s
Installing Insight Face
Some functionalities of the IPAdapter require the Insight Face module. To install it:
- Navigate to your Comfy UI base folder.
- Open the ‘requirements.txt’ file and add the following line at the bottom:
insight_face onnx. - Save the changes and run the command
pip install -r requirements.txtin your terminal.
Understanding the Basic Workflow
Now that we have installed the necessary components, let’s look at a basic workflow using the IPAdapter.
The key components include:
- The Unified Loader, which streamlines the process of loading models.
- The IP Adapter Node, which facilitates the application of models to images.
To set up a basic workflow:
- Connect the Unified Loader to your checkpoint loader.
- Feed the output into the IP Adapter Node along with your reference image.
- Set the necessary weights and model parameters, such as choosing between standard and style transfer options.
Advanced Workflow Techniques
The update brings advanced nodes that allow for more control over how models are applied to images.
For example, the Advanced IP Adapter Node accepts an image negative, which can help reduce unwanted artifacts in the final output. This is particularly useful when working with images that may have undesired painted styles or noise.
To utilize this feature:
- Load your reference image into the Advanced IP Adapter Node.
- Provide an image negative to guide the model on what to avoid.
Experimenting with Weight Types
The weight types available in the Advanced IP Adapter Node allow for varied conditioning of the output. Here are some options:
- Linear: Applies conditioning evenly throughout the process.
- Ease In: Aggressively applies conditioning at the start and tapers off.
- Ease Out: Applies conditioning towards the end of the process.
Experimenting with these weight types can significantly impact the results. I recommend trying different combinations to see which yields the best output for your specific reference images.
Using Attention Masks
Attention masks can help focus the model’s attention on specific parts of an image while ignoring others. This is particularly useful for refining outputs and achieving desired aesthetics.
Here’s how to utilize attention masks effectively:
- Open your reference image in the mask editor.
- Mask out areas that may distract from the desired output.
- Feed the mask into the IP Adapter Node as an attention mask.
Combining Styles with Attention Masks
A fascinating application of attention masks is combining different styles in a single image. For example, you can apply one style to the background and another to the main subject.
To do this:
- Load two different style images into separate IP Adapter Nodes.
- Use attention masks to control which areas of the image each style applies to.
- Queue the prompt and generate the final output, which will reflect the combined styles.
Conclusion
The latest update to the IPAdapter in ComfyUI opens up numerous possibilities for creative workflows. By following this guide, you should be able to set up your environment, install the necessary components, and start experimenting with various workflows and techniques.
If you found this guide helpful, please consider supporting me on Patreon or buying me a coffee on Buymeacoffee. Your support allows me to continue creating valuable content for the community.
Join our Discord to discuss workflows, troubleshoot issues, or share your experiences with other users. Thank you for reading, and I look forward to seeing the amazing creations you come up with using the IPAdapter!

