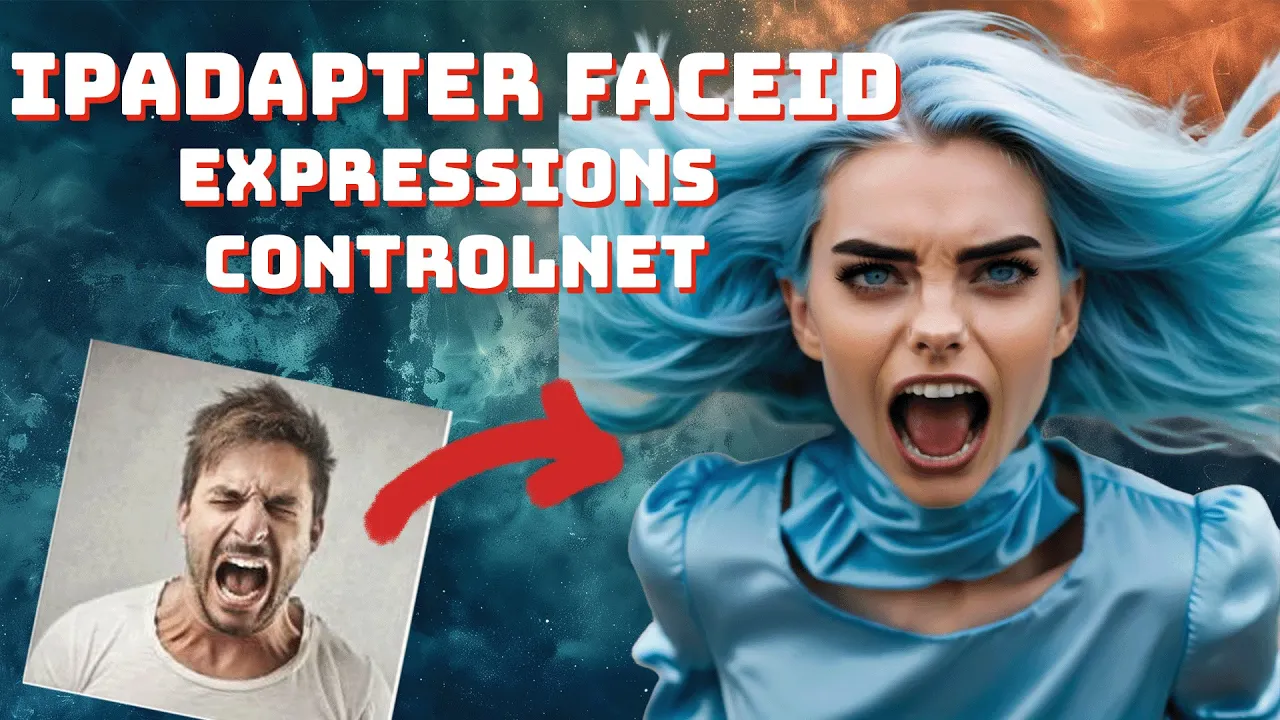
How to Transfer Facial Expressions with IPAdapter and FaceID Using Comfy UI
Discover how to transfer facial expressions using IPAdapter and FaceID with Comfy UI. Follow this guide for step-by-step instructions on bringing digital faces to life effortlessly.
Workflow Overview
This is what the workflow looks like. We’re going to be using ControlNet along with FaceID to take a face of a character that we’ve created earlier and give her facial expressions based on references that we found over the internet. To achieve this, we’re going to be using OpenPose ControlNet.
Setting Up ControlNet and OpenPose
I’ve set up the ControlNet and OpenPose nodes in the upper right section. To make it easier to go through them, I’ve split them out so we can see what’s going on.
1. Load Image: Here, we’re loading a reference image with the expression. We’ll try out a couple of expressions that I’ve prepared.
2. OpenPose Pose: The reference image is fed into OpenPose Pose, which then goes into Apply ControlNet.
3. Load ControlNet Model: In this case, I am using OpenPoseXL2.safetensors, available on Civitai or Hugging Face. I also have an output image here to see what the OpenPose looks like.
Depending on the expression you use, you may alternatively want to use Canny. In the organized workflow, the ControlNet and OpenPose nodes are organized here. We have:
– Load Image
– OpenPose
– Preview of the OpenPose
– Load ControlNet
– Apply ControlNet
When using ControlNet, it is applied as conditioning to your KSampler. We feed the positive conditioning into Apply ControlNet, then from conditioning over to positive.
Combining IPAdapter and FaceID
To combine that with the IPAdapter using FaceID, we have the Load Reference Image. Here, we load up the image of the character that we’re going to apply the facial expression to.
1. Clip Vision Preparation: Prepare it for Clip Vision to ensure the best results. Usually, we use a portrait image of the character.
2. IPAdapter FaceID: Load the IPAdapter FaceID model and parameters using the FaceId Unified Loader, which receives the model from the checkpoint loader.
3. Adjust Parameters: Set `lora_strength` to 0.8 (usually between 0.6 and 0.8 depending on the results). The main items to adjust are `weight_faceidv2` and `weight_type`.
If you want to understand how weight type can impact your image, I have a phenomenal guide to IPAdapter linked here. Check it out if you’re new to IPAdapter or struggling with it.
Adjusting the Prompt
Ensure you adjust the prompt to account for the facial expression and anything that might help the model align with the image you’re providing.
I’ve already prepared a facial expression and my character, Marina, used in a previous IPAdapter video. Cue the prompt, and you’ll see we not only transferred the facial expression but also maintained key elements from the character.
Experimenting with Expressions
If the initial transfer isn’t as strong as the reference image, push another one through and simplify the prompt to align with your character’s aspects.
Here’s an example result image with a big open mouth smile and slightly closed eyes – a pretty good transfer. (Control Net Strength 1.00)
1. Increase ControlNet Strength: If needed, crank the ControlNet strength to 1.50 for a more aggressive adjustment. However, too high might make it unnatural, so balance it carefully.
Image Outcome: Enhanced by increasing the ControlNet Strength to 1.50
2. Try Different Expressions: Test with different expressions, like an angry scream. Adjust the prompt accordingly. If struggling, switch from OpenPose to Canny.
Using Canny as an Alternative
If OpenPose doesn’t yield desired results, set up Canny similarly:
- Load Image: Apply the OpenPose Pose with Canny Edge.
- Swap Model: Use your preferred Canny model and feed it into Apply ControlNet.
- Adjust Strength: Lowering strength can help avoid unwanted details.
Canny can rigidly transfer expressions but might pick up extra elements. Adjust the threshold to balance detail capture and expression transfer.
Dealing with Artifacts
If artifacts appear:
IPAdapter Noise Node: Use the IPAdapter noise node as negative conditioning to reduce artifacts.
Further Fine-Tuning: Keep tweaking until achieving a positive result.
With a bit of tweaking, you can successfully transfer facial expressions to your character. For a more detailed explanation and visual demonstration, you can watch the YouTube video associated with this tutorial. If you found this tutorial helpful, please like and subscribe: youtube.com/@EndangeredAI
The full workflow and detailed instructions are available on my website: https://endangeredai.com/
Additionally, an enhanced version with upscaling and more features is accessible to my patrons on Patreon. Join our Discord community (https://discord.gg/URf7nJf2) for more discussions, support, and upcoming competitions. Thank you for reading, and see you in the next post!
Keywords:
- IPAdapter and FaceID
- Facial expression Transfer Guide
- OpenPose and ControlNet
- ControlNet facial expressions
- Canny for facial expressions
- Comfy UI tutorial
Join the Community
- Like and Subscribe: https://www.youtube.com/@EndangeredAI
- Discord: https://discord.gg/TZCVqAqp
- Website: Visit https://endangeredai.com for more resources.
- Workflow:
- Advanced Workflows:

